Going to add more comments later, just wanted to get these shots up tonight. Click to enlarge.
So, the interesting thing about this painting technique is that the piece looks different from different angles. For a better understanding of how I did this, please read the previous two entries.
Entry 1 and
Entry 2.
Long story short(er): I made thick textures on the board with
pumice gel
and then sculpted it with a serrated clay tool, to make gouges and
ridges in the gel. I then painted the entire piece. When it was dry, I
then used an airbrush aimed not at the piece, but parallel to it! The
paint only landed on one side of each ridge, in the rainbow design seen above. The detail shots
below make this more apparent.
 |
| Ridges are easier to see, as the copper & golden paint filled the gouges a bit. |
|
 |
| Reminds me of a butterfly wing close up. Some dry brush work in black here. |
 |
| Another detail of the ridges. |
|
 |
| My daughter says that this part reminds her of crows flying in formation in the sky. |
The three images above are from the same part of the piece, taken at different angles. Worth clicking on for an enlarged view
 |
| Eye of Horus |
 |
| Jupiter Cloud Pattern |
 |
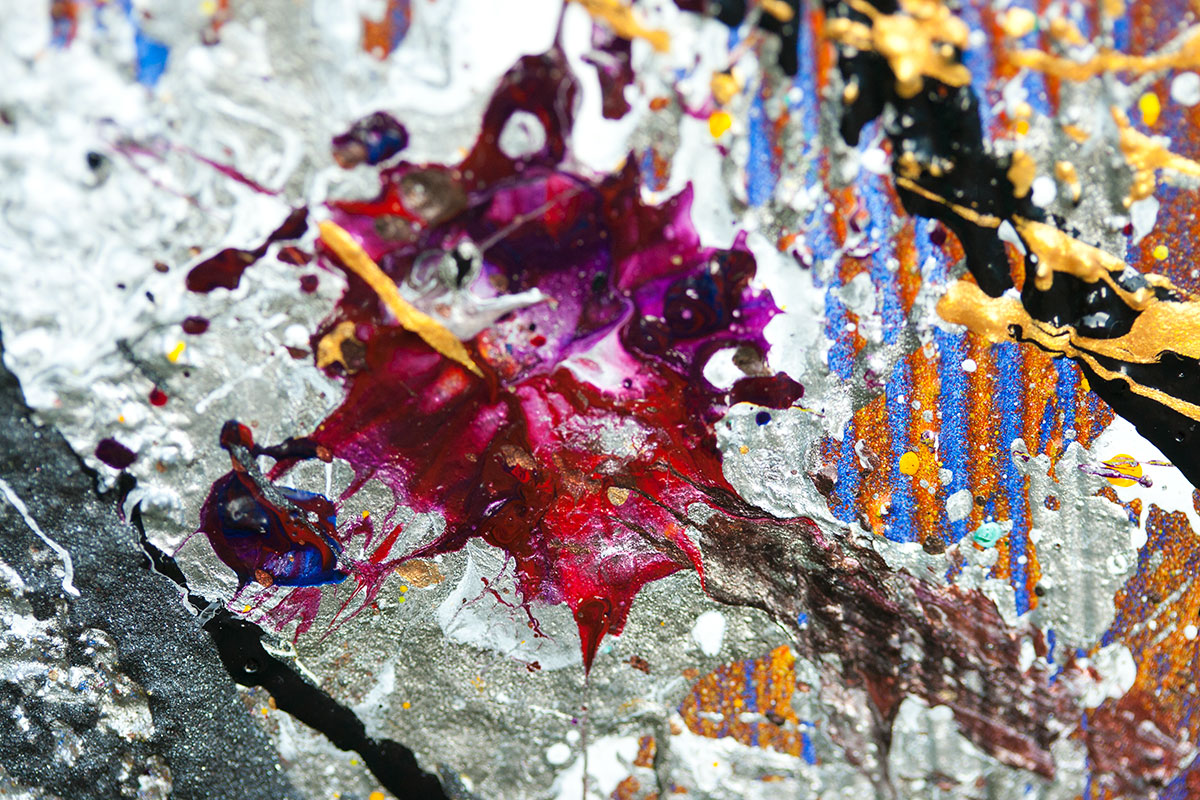
| No metaphor here. Just a wonderful purple splat! |
 |
| Second shot with a tennis ball; the first shots had more of a splat. |
 |
| 1980's comic book color scheme. Or ketchup & mustard. |
 |
| Enlarge for details of the teal & white swirls |
 |
| All of these remind me of fantastic space imagery. |
 |
| Classic colors and reflective pattern of amusement park ride paint schemes. |
Finally, a cheesy animated gif, so you can see how the imagery changes depending on your angle.